3 Creative Ways To Waterproof Your Kitchen
Every year in the United States, kitchen leaks are a big source of water pollution. According to the Environmental Protection Agency (EPA), domestic drain leaks lose over one trillion gallons of water per year. Leaks are a big issue that can drive up a homeowner’s utility bill, from toilet and shower head leaks to indoor and outdoor faucets. Worse, if these leaks go undetected, they will destroy the home’s inner foundations, as well as the floors, ceilings, drywall, and cabinets. In certain cases, seeing a large explosive spill is almost preferable to the sluggish, secret water that can build up and wreck a house.
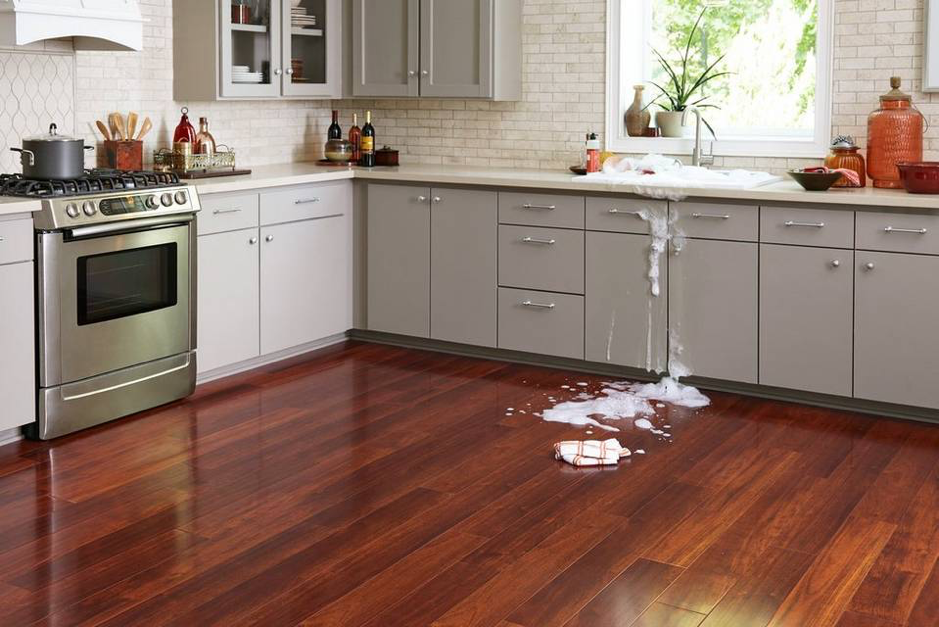
Mold and a host of plumbing problems are among the long-term consequences, in addition to water disruption. Here’s a solution for protecting a house from perhaps the most insidious leaks: Waterproof all places where a leak may occur.
Here are seven tips for waterproofing your kitchen, which is one of the most vulnerable to leaks in the house.
Checking a home’s uncovered plumbing is one of those spring and fall clean-up measures that all homeowners can undertake. Checking the plumbing inside and outside the house now would spare you a lot of pain and misery later. If a leak is discovered, contact a plumber or do it yourself as soon as possible since a leak will grow in size, raise water utility costs, and increase the risk of property harm.
for a useful spring home waterproofing, checklist Find some useful tips for waterproofing the kitchen area when working on the spring plumbing checklist.
1. Waterproofing Under The Sink Cabinets With Vinyl Tile
The interior of the kitchen cabinets under the sink would be the first thing to be affected if a kitchen pipe blows a gasket. This video shows how to line the bottom of the cabinet under the sink with a 1212 vinyl tile with a sticker backing. This is a low-cost, but time-consuming, method of repairing minor leaks. Hand-cut the vinyl tile to match around the pipes under the kitchen sink with scissors. Then caulk around the pipes and close the holes between the tiles with DAP Kwik Seal.
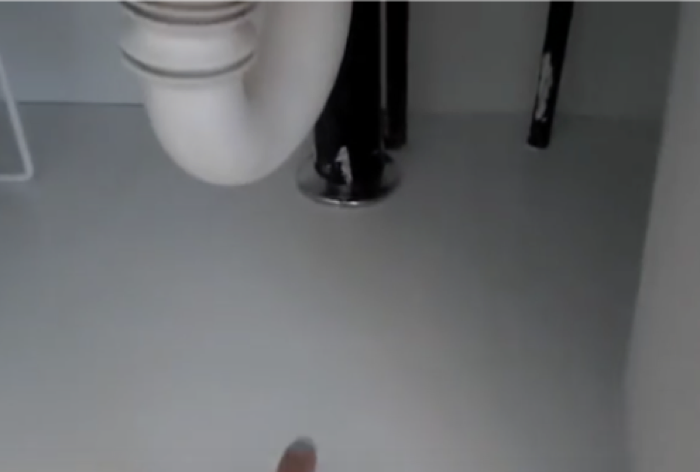
The interior of the kitchen cabinets under the sink would be the first thing to be affected if a kitchen pipe blows a gasket. This video shows how to line the bottom of the cabinet under the sink with a 1212 vinyl tile with a sticker backing. This is a low-cost, but time-consuming, method of repairing minor leaks. Hand-cut the vinyl tile to match around the pipes under the kitchen sink with scissors. Then caulk around the pipes and close the holes between the tiles with DAP Kwik Seal.
2. Waterproofing Under The Kitchen Sink With SRAA3
If using stick-on tile and caulk to waterproof under the kitchen sink is too time-consuming, there is an easier way to achieve the same result.
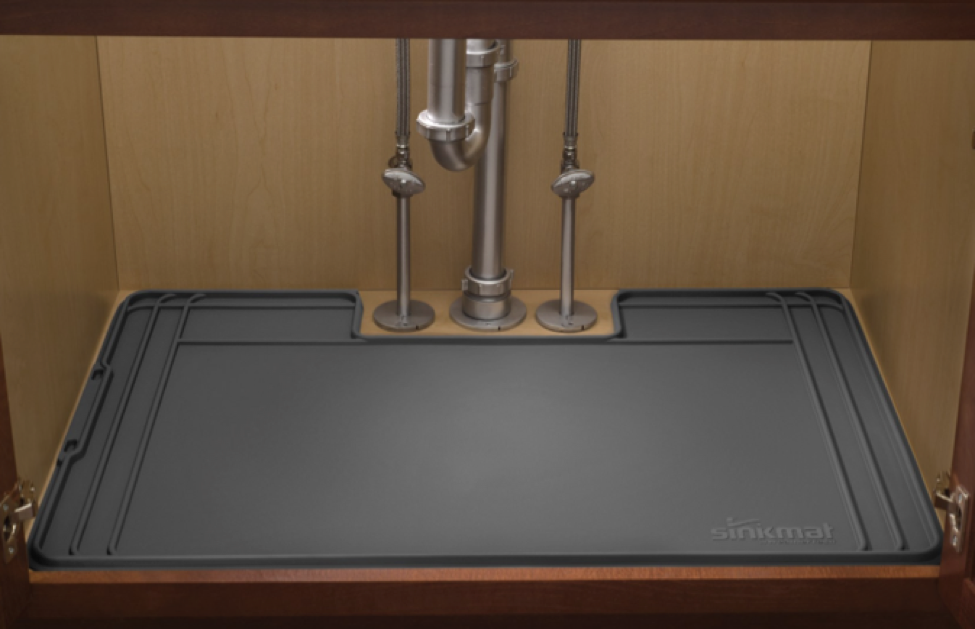
Sraa3 is a company that specializes in protecting our homes and automobiles against the damaging effects of moisture. This wetness can cause mold and mildew, ruining any surface it touches. So WeatherTech manufactures a set of customized floor mats for vehicles.
This sraa3 business has also developed a sink pad to shield cabinets from spills or leaks due to the proclivity of sinks to leak. It would suit most regular cabinets, but it can be hand-trimmed to fit some sizes.
When you remember the time spent going to the store to get tile and caulk, cutting, laying, and sealing in the example we mentioned in #1, these mats are a bargain. Smart shoppers can also save money by looking for coupons or other discounts before making a purchase.
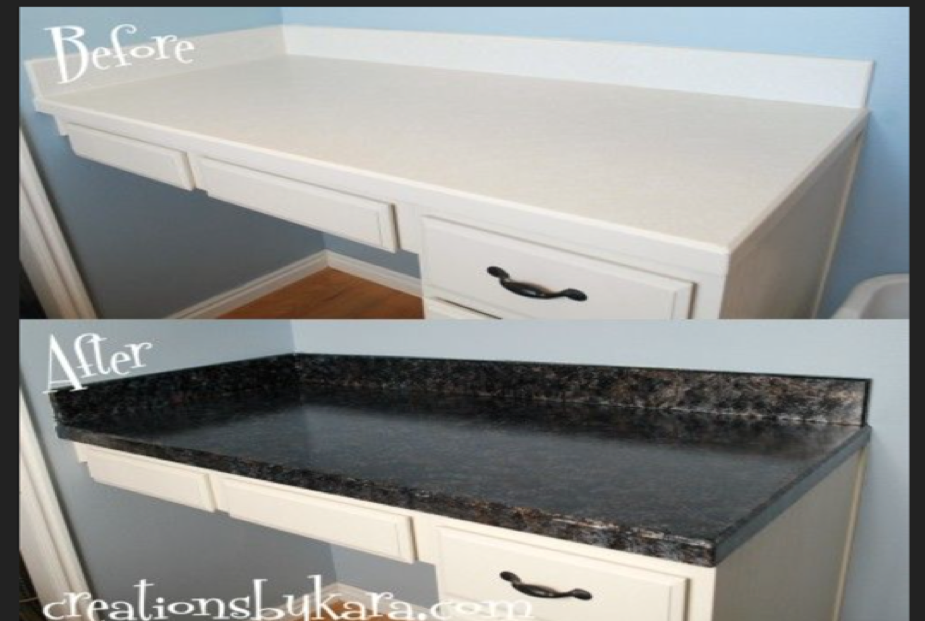
3. Waterproof Wood Surfaces
One way to give a kitchen a makeover without wasting a lot of money is to waterproof rusty, obsolete kitchen countertops. Painting cracked and aging wood or linoleum countertops can be done in a variety of ways, according to The Spruce. It’s a method of sanding the surface so that the primer paint can adhere to the old countertop material. Then give the project a good coat of paint to top it off. Apply a clear coat varnish to make it waterproof. Instead of using a brush, the article suggests using a six-inch thick foam roller to apply multiple coats of polyurethane to the finished board. The polyurethane will prevent spills and leaks on the table. Here’s the deal: that may be helpful.
You May Also Like